Assignment 22
Using Google sketch up, I created these 3D objects. I did this buy using the pencil tool to draw straight lines, using the colors that were already placed as guide lines to know what line goes where like the blue line for up and down (vertical), green line for front and back, red line for horizontal and the black line for diagonal. I used the push and pull tool to make the objects 3D. I used the eraser to get rid of any unnecessary lines. I used the paint bucket to color the blocks. That is how I created these blocks.
Wednesday, December 11, 2013
Blocks 5-8
Assignment 22
Blocks 1-4
Assignment 22
Using Google sketch up, I created these 3D objects. I did this buy using the pencil tool to draw straight lines, using the colors that were already placed as guide lines to know what line goes where like the blue line for up and down (vertical), green line for front and back, red line for horizontal and the black line for diagonal. I used the push and pull tool to make the objects 3D. I used the eraser to get rid of any unnecessary lines.
Using Google sketch up, I created these 3D objects. I did this buy using the pencil tool to draw straight lines, using the colors that were already placed as guide lines to know what line goes where like the blue line for up and down (vertical), green line for front and back, red line for horizontal and the black line for diagonal. I used the push and pull tool to make the objects 3D. I used the eraser to get rid of any unnecessary lines.
Friday, December 6, 2013
3RD Marking Period With Google Sketch Up
Assignment 21 a,b,c
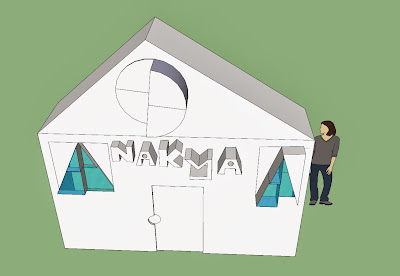
This assignment I used Google Sketch up to create 2D and 3D objects. Using the pencil, the circle, and rectangle too, I created a 3D house. Using the push/pull tool, I pulled or pushed the windows, doors, and building to give it a 3D effect. That is how I created this beautiful house.
Thursday, November 14, 2013
Soft Filtering Skin Tone
Assignment 18: Soft Focus Effect
 |
| Before |
 |
| After |
I made Anne Hathaway face glow by following the steps on this page.Soft Focus Effect. You can use any picture you like, you don't have to use Anne Hathaway. Before, you start step one the picture as a smart object.
Masking Area For Desired Effect
Assignment 17: Masking
I created this masking effect by using the application Adobe Photoshop. First I searched up a picture, then I placed the picture on the canvas. After that I re-sized the picture to fit the canvas. Finally I followed the steps on this website Masking Area. After that, to change the color like what i did with Johnny Depp. I went to edit fill, clicked on the color use to change the color to what ever you want.To get the Original picture on the canvas i just re-sized canvas. I went to image panel,clicked on Canvas Size, then i changed the width to 11 and moved the arrows to face the left and placed the original picture on the new part of the canvas.
Thursday, November 7, 2013
Motion Blurred via Smart Filter
Assignment 16 Motion Effect
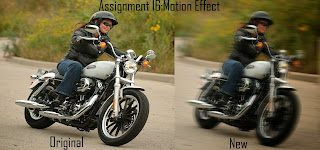
I created this motion effect by using the application Adobe Photoshop. First I searched up a picture, then I placed the picture on the canvas. After that I re-sized the picture to fit the canvas. Finally I followed the steps on this website.Motion Effect. To get the Original picture on the canvas i just re-sized canvas. I went to image panel,clicked on Canvas Size, then i changed the width to 11 and moved the arrows to face the left and placed the original picture on the new part of the canvas.
Wednesday, November 6, 2013
Create A Painted Effect Look With Displacement Maps
Assignment 15B Painted effect.
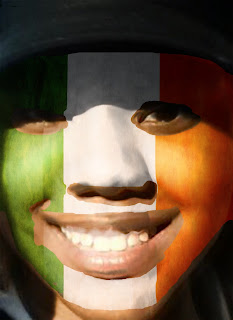
I made this face look painted, kinda with the use of Adobe Photoshop. First, I found a picture of a face and a flag. Following the steps on this page Painted face effect I blended the face(wall background) and the flag to give it a painted look.
Monday, November 4, 2013
Create A Painted Effect Look With Displacement Maps
Assignment 15A Painted Effect
I made this flag with the use of Adobe Photoshop. First, I found a flag and a wall background. Following the steps on this page Painted flag effect I blended the flag and the wall background to give it a painted look.
Wednesday, October 30, 2013
Halloween Project
Assignment #14 Halloween Project
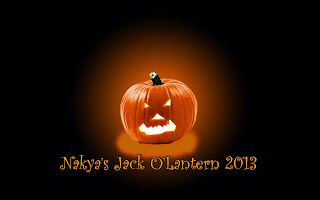
To create this pumpkin I first search up a picture of a plain pumpkin, then using Adobe Photoshop. I placed the picture onto the canvas and followed the direction on this website, How to make a pumpkin.
Thursday, October 24, 2013
ChangeOneThing Poster Mimic
Assignment #13 Poster Mimic
I created this poster by using Adobe Photoshop. First, I looked at the official poster, then I searched up a picture of a glass of water and a picture of a can of Sprite. Next, I placed the picture on my canvas, and moved them to there spot. Finally, I added the text, and to make the text look different, then normal, I changed their blending options.
Tuesday, October 22, 2013
Adding Texture with Layers
#12 Adding Texture with Layers
Thursday, October 17, 2013
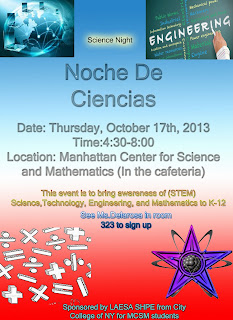
2nd Marking Period: Noche De Ciencias Flyer
#11 Flyer redesigned by Nakya Stewart
Using
Adobe Photoshop, I redesigned the Noche De Ciencia Flyer.First, I created a new file. I made the height of the new file 5 inches, the width 7 inches, the resolution 200 pixels/inches and made the color mode RGB color. Next, I added a text, to most of my text I added a glass
effect, you can find out how to do the glass effect by clicking on this link http://www.tutorialboard.net/photoshop-glass-text-effect/. Others I bold or using the blending option I used the gradient overlay. For my background I used the gradient tool, on the left hand side where you see the tools, I used the one under the eraser. After that, I searched up pictures relevant to the the topic, then I placed them on the flyer, by going to file and down to the word place and I placed the pictures. Using the magic wand to get rid of any extra filling of the pictures, like the white part of picture that wasn't needed. Finally I re positioned my text and or pictures but using the arrow a cross by the side of it. That’s how I redesign
the flyer.
Thursday, October 10, 2013
Subscribe to:
Posts (Atom)


